A polished architectural render can communicate materials, lighting, and spatial design in a single frame. But during a presentation, portfolio review, or social media post, a static image may struggle to create the feeling of moving through the space.
Traditional architectural walkthroughs solve this problem, but they usually require reopening the 3D scene, creating a camera path, adjusting animation, and rendering hundreds of frames.
AI image-to-video provides a faster alternative. It can add controlled camera movement and environmental motion to an existing render, turning one approved image into a short, immersive architectural video.
Why Static Renders Sometimes Feel Limited
A still render shows one carefully selected viewpoint. It cannot naturally reveal depth, guide attention from one design feature to another, or recreate the experience of approaching and entering a space.
This can be limiting when architects and designers need content for:
- Client presentations and concept pitches
- Architecture portfolios and showreels
- Interior design proposals
- Competition submissions
- Instagram Reels, TikTok, and other short-form content
A short movement such as a slow push-in, lateral slide, or gentle upward reveal can make the same render feel more spatial without changing the original design.
What AI Image-to-Video Can—and Cannot—Do
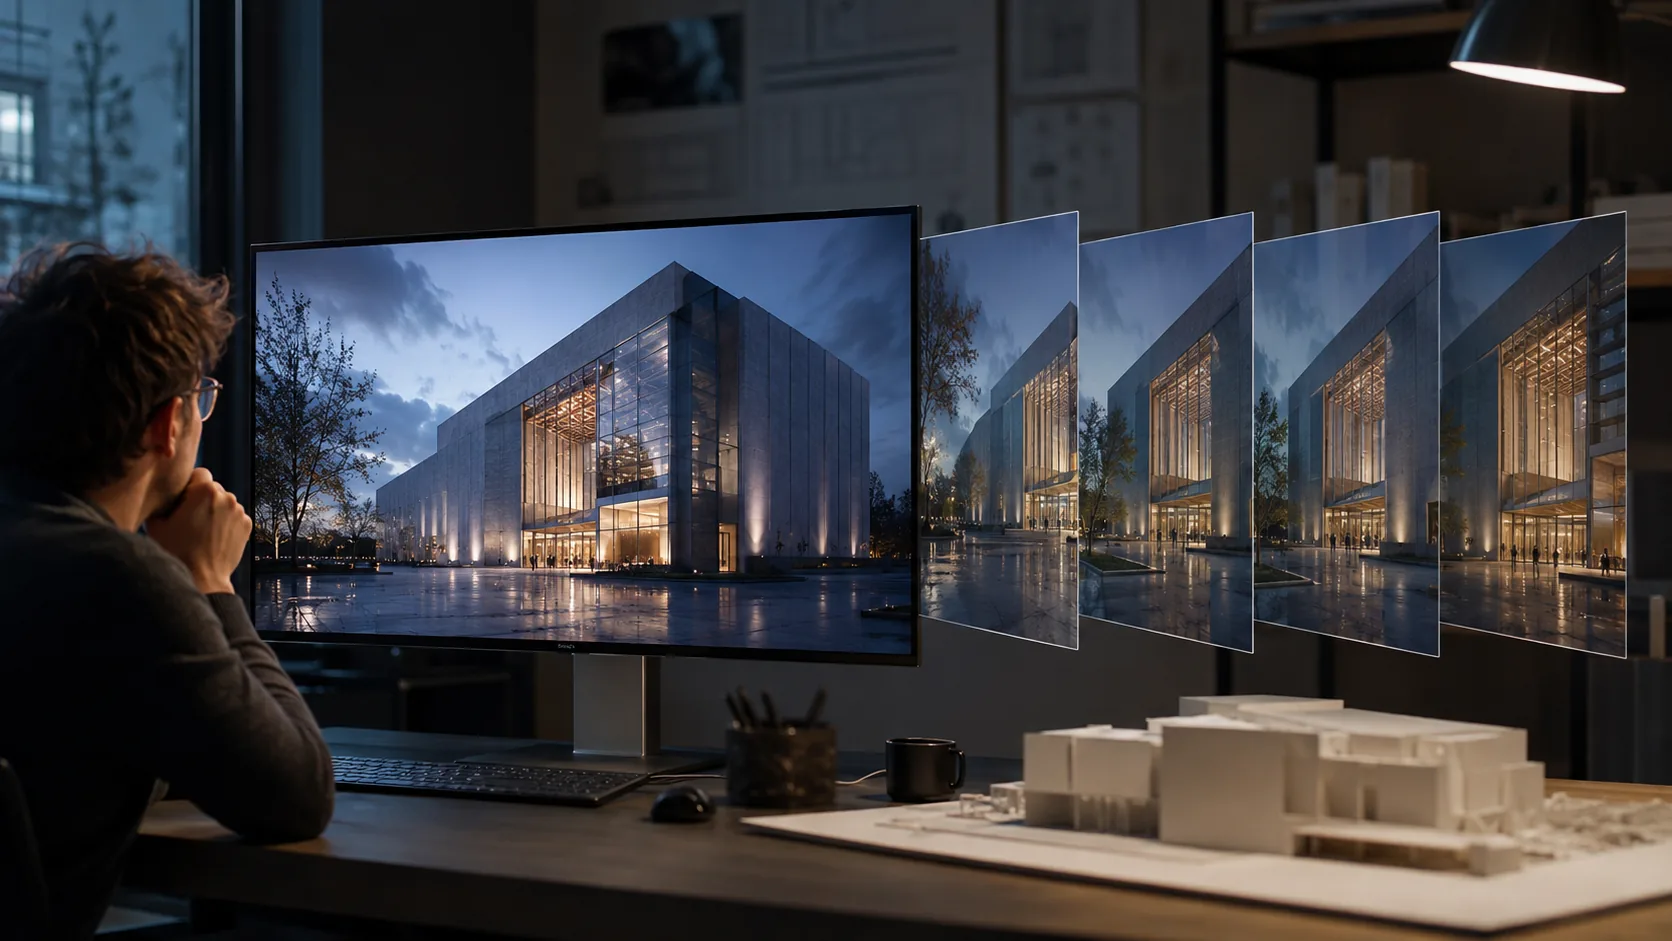
AI can simulate camera motion from a static architectural image. It may create the impression of moving toward a building, gliding through an interior, or slowly revealing a façade.
This works well for mood videos, presentation openers, portfolio clips, and social media content. It is especially useful when the original 3D scene is unavailable or there is not enough time to build a traditional animation.
However, an AI-generated clip is not a true navigable walkthrough. The model interprets depth from a single image rather than reading the original 3D geometry. It should be treated as a short visual presentation, not as an accurate technical simulation of the entire space.
How to Animate an Architectural Render With PicMa
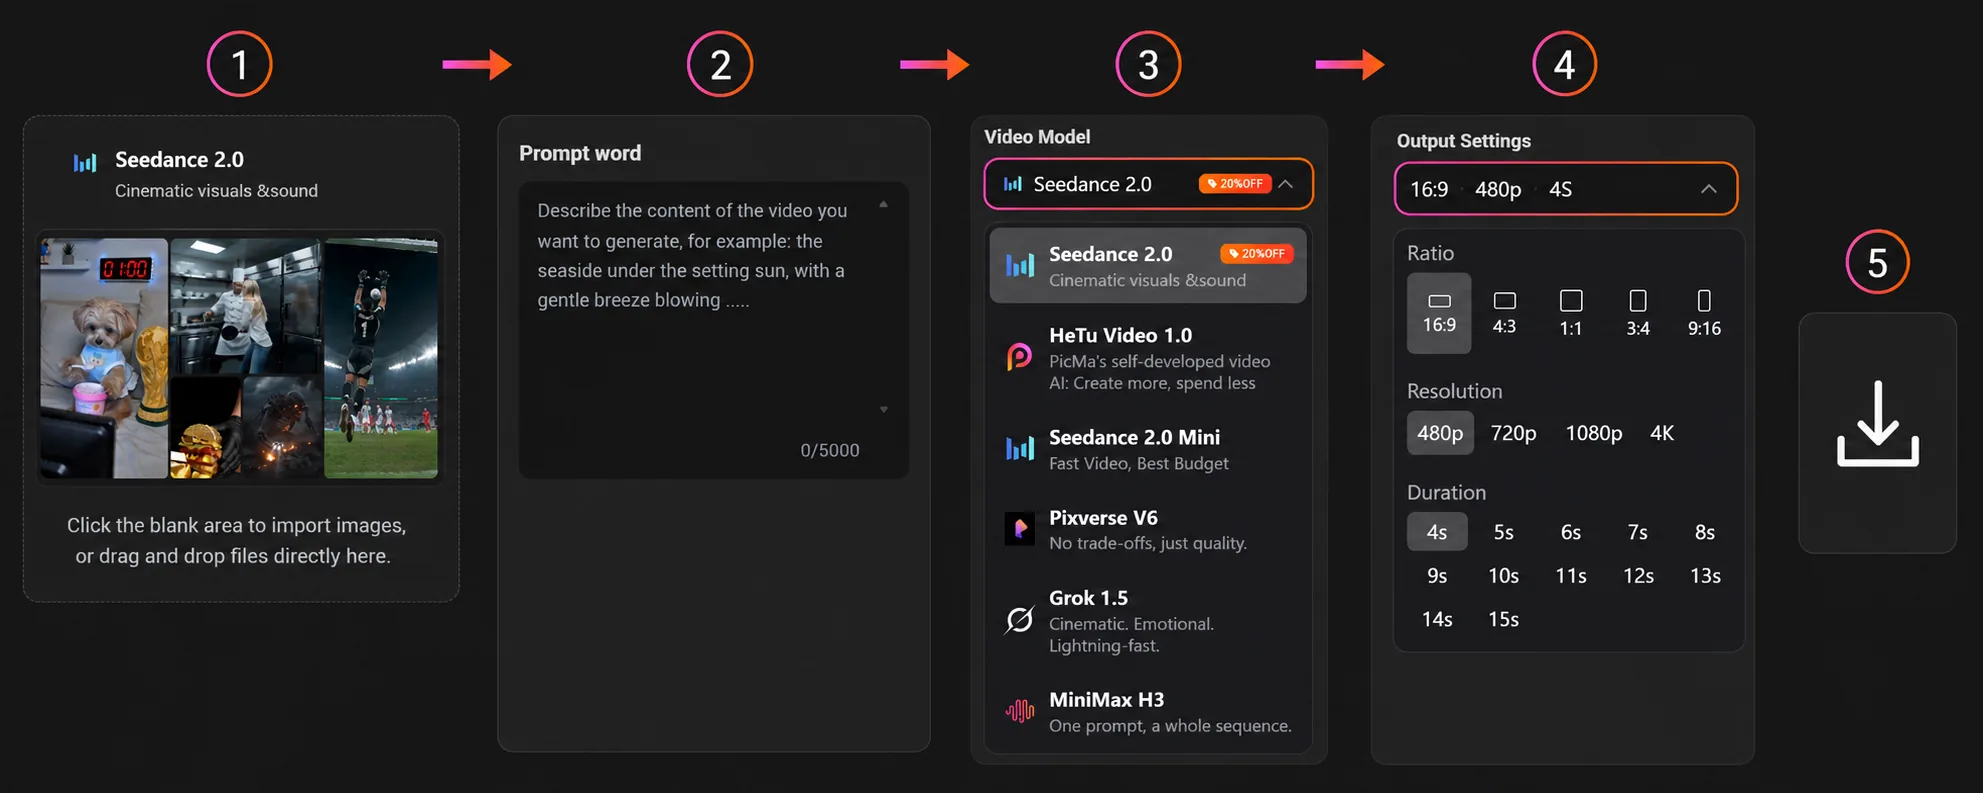
Step 1: Upload the image
Open PicMa Image to Video or PicMa APP from homepage and upload your architectural or interior render.
Step 2: Write a prompt
Describe the camera movement and any subtle environmental motion.
Step 3: Select a model
Choose the video model that best matches your preferred quality, speed, and visual style.
Step 4: Choose the output settings
Set the aspect ratio, resolution, and video duration.
Step 5: Generate and export
Preview the result, try another version if needed, and export the final clip.
The original render remains your visual foundation, while the AI adds movement around it.
Better Prompts for Architectural Animation
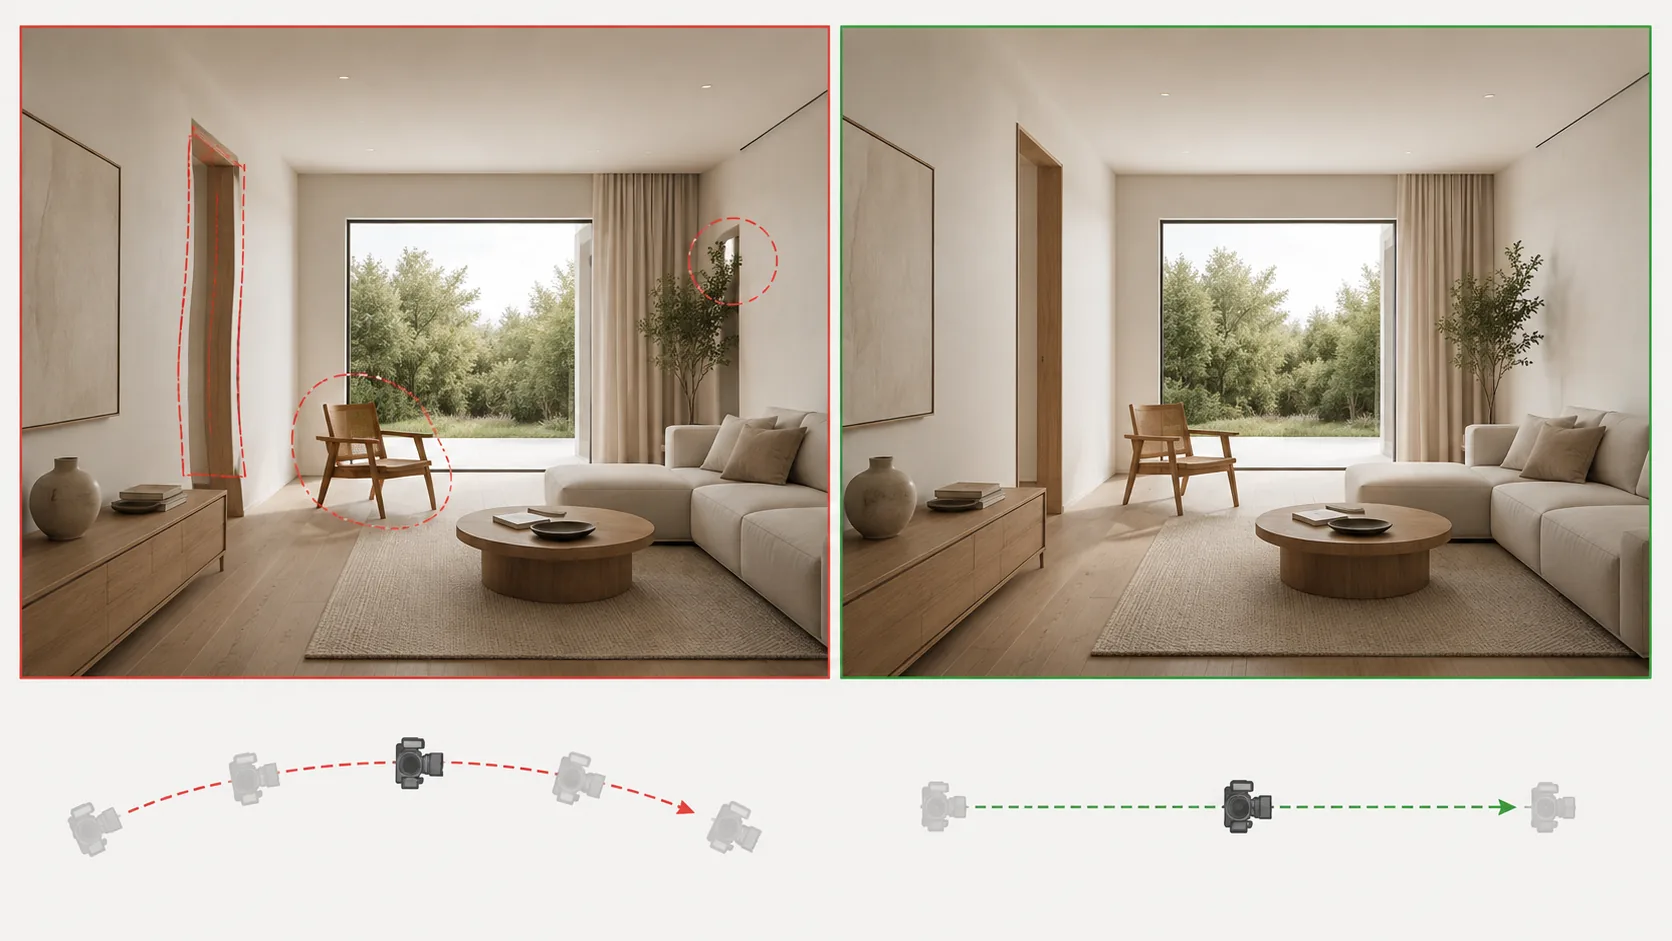
Architectural prompts work best when they describe one clear camera movement. Trying to combine a fast orbit, a dramatic zoom, and a complete room transition in one short clip may cause the structure to distort.
For an exterior render, try:
Slow cinematic push toward the building entrance, subtle tree movement, realistic afternoon light, stable architectural geometry.
For an interior render:
Gentle forward camera movement through the living room, soft curtain movement, natural sunlight, preserve the furniture layout and materials.
For a tall building:
Slow upward camera tilt revealing the full façade, subtle cloud movement, fixed building structure, realistic scale.
Include phrases such as “stable geometry,” “preserve the original design,” and “subtle motion” when design consistency matters. Camera language like “slow dolly forward,” “gentle pan,” or “controlled tilt” is usually more useful than simply asking the AI to “make the image move.”
How to Reduce Distortion in the Final Video
Begin with a clean, high-resolution render that has clear perspective and recognizable depth. Strong foreground, middle-ground, and background separation gives the model more visual information for creating movement.
Avoid asking the camera to reveal large areas that do not exist in the original image. If the render only shows one side of a room, an extreme orbit may force the AI to invent furniture, walls, or doors.
Keep the first version simple. Generate a slow camera movement, review straight lines and furniture edges, and then increase the motion only if the structure remains stable.
For a longer presentation, animate several approved renders separately with PicMa’s image-to-video tool, then combine the short clips in a video editor. This usually provides more control than asking one image to create a complete building tour.
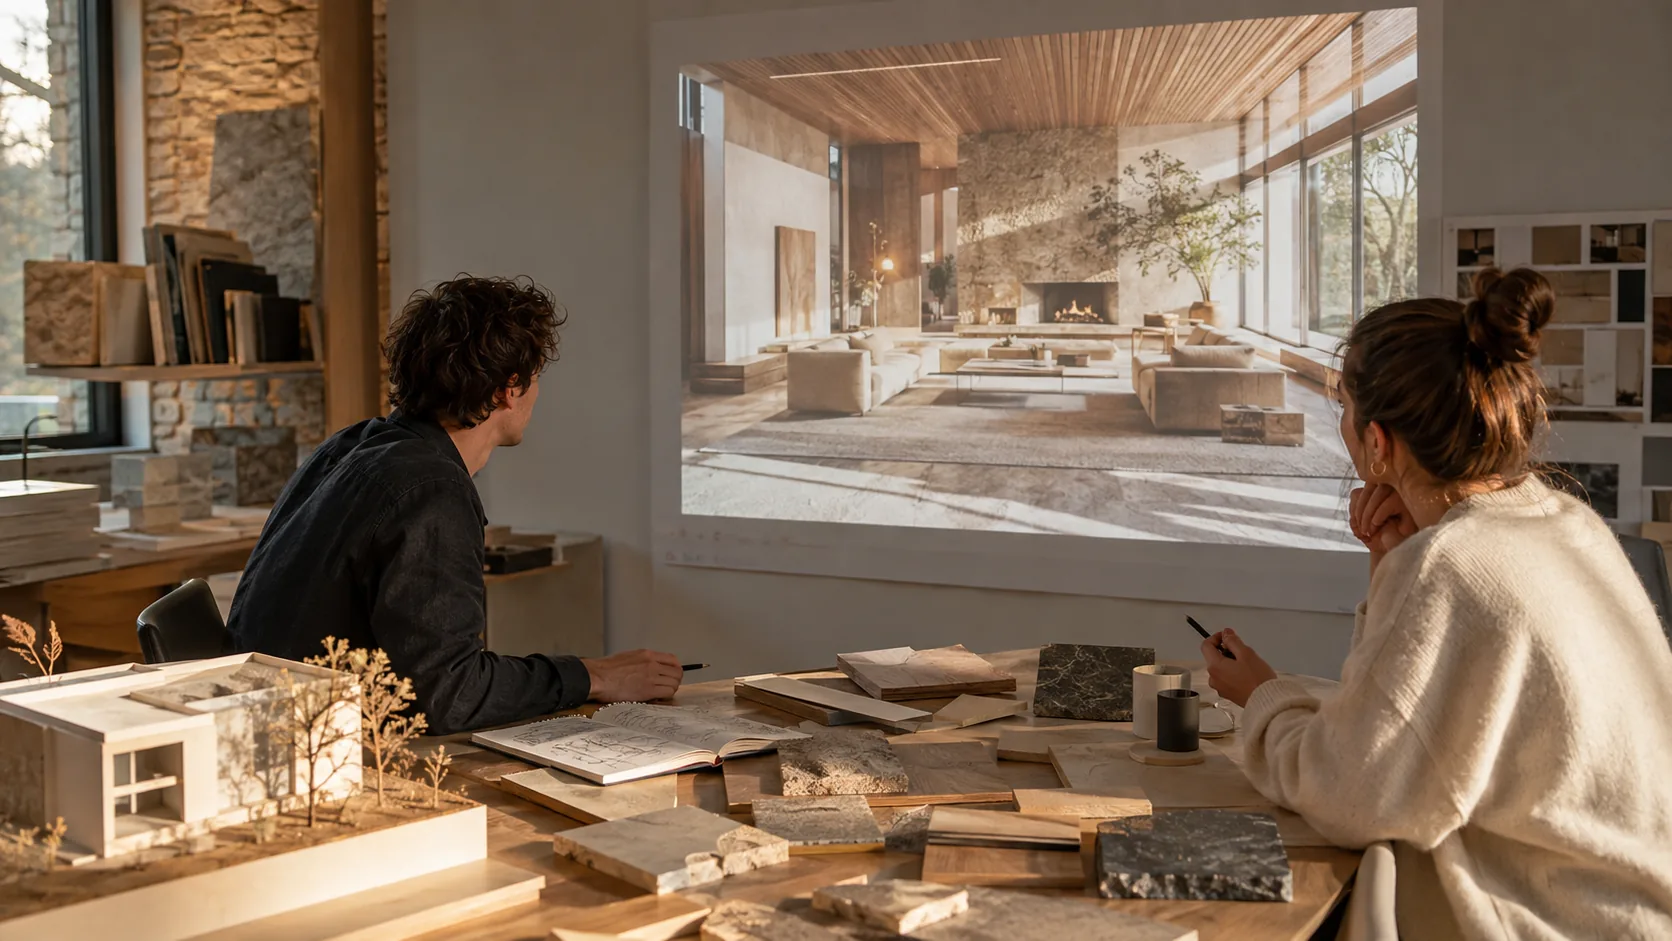
You do not always need to reopen a 3D project just to create a short presentation video. An existing exterior, interior, or landscape render can become a portfolio clip, client-pitch visual, or social post with a few seconds of controlled movement.
Animate an architectural render with PicMa Studio.


FAQ
Can AI create a complete architectural walkthrough from one image?
It can create a short walkthrough-style movement, but it cannot reconstruct every room or provide the geometric accuracy of the original 3D model.
What camera movement works best for interior renders?
Slow forward movement, a gentle lateral slide, or a controlled pan usually works better than fast rotations and dramatic camera changes.
Will the AI change the architecture or furniture?
Small changes may appear when motion is too strong or the prompt asks the camera to reveal unseen areas. Use subtle movement and explicitly request stable geometry and preservation of the original design.
Related Readings:

 48
48

 English