A beautiful website can still feel slow.
Bloggers, SEO teams, and website owners often upload high-resolution images because they want every product shot, hero banner, and blog visual to look sharp. The problem is that those files can easily become several megabytes each.
Once a page contains five, ten, or twenty large images, loading speed starts to suffer.
The obvious solution is image compression. But compress too aggressively and sharp photos become soft, text becomes fuzzy, and carefully designed visuals start looking cheap.
The real goal is not to make every image as small as possible. It is to find the point where the file becomes much lighter without creating a noticeable drop in quality.
Why Large Images Slow Down Your Website
Every image on a webpage has to be downloaded before the visitor can see it.
A 4 MB hero image may look great on your computer, but on a slower mobile connection it can noticeably delay the page. Add several similar images and the problem becomes even more obvious.
This matters for more than user experience. Page speed can affect engagement, bounce rate, and how easily search engines can crawl and evaluate a site.
For bloggers, ecommerce stores, and SEO-focused websites, image optimization is therefore less about aggressive compression and more about avoiding unnecessary file weight.
A photograph does not always need to stay at its original camera resolution just because the source file is large.

How Much Should You Compress an Image?
There is no single perfect file size for every website.
A small blog thumbnail and a full-width homepage banner have completely different requirements. What matters is whether the image still looks clean at the size visitors will actually see it.
As a general rule, start by asking two questions:
Can I see an obvious quality difference?
If not, you can probably compress further.
Is this image larger than it needs to be for its display size?
If yes, reducing the file size is usually worth doing.
The biggest mistake is checking only the number of kilobytes. A 50 KB image is not automatically better than a 150 KB image if the smaller one looks visibly blurred.
The best compression result is usually the smallest file that still looks normal to the human eye.

How to Compress Images with PicMa Studio
If you do not want to keep exporting the same image at different quality settings manually, an image compressor can make the process much faster.
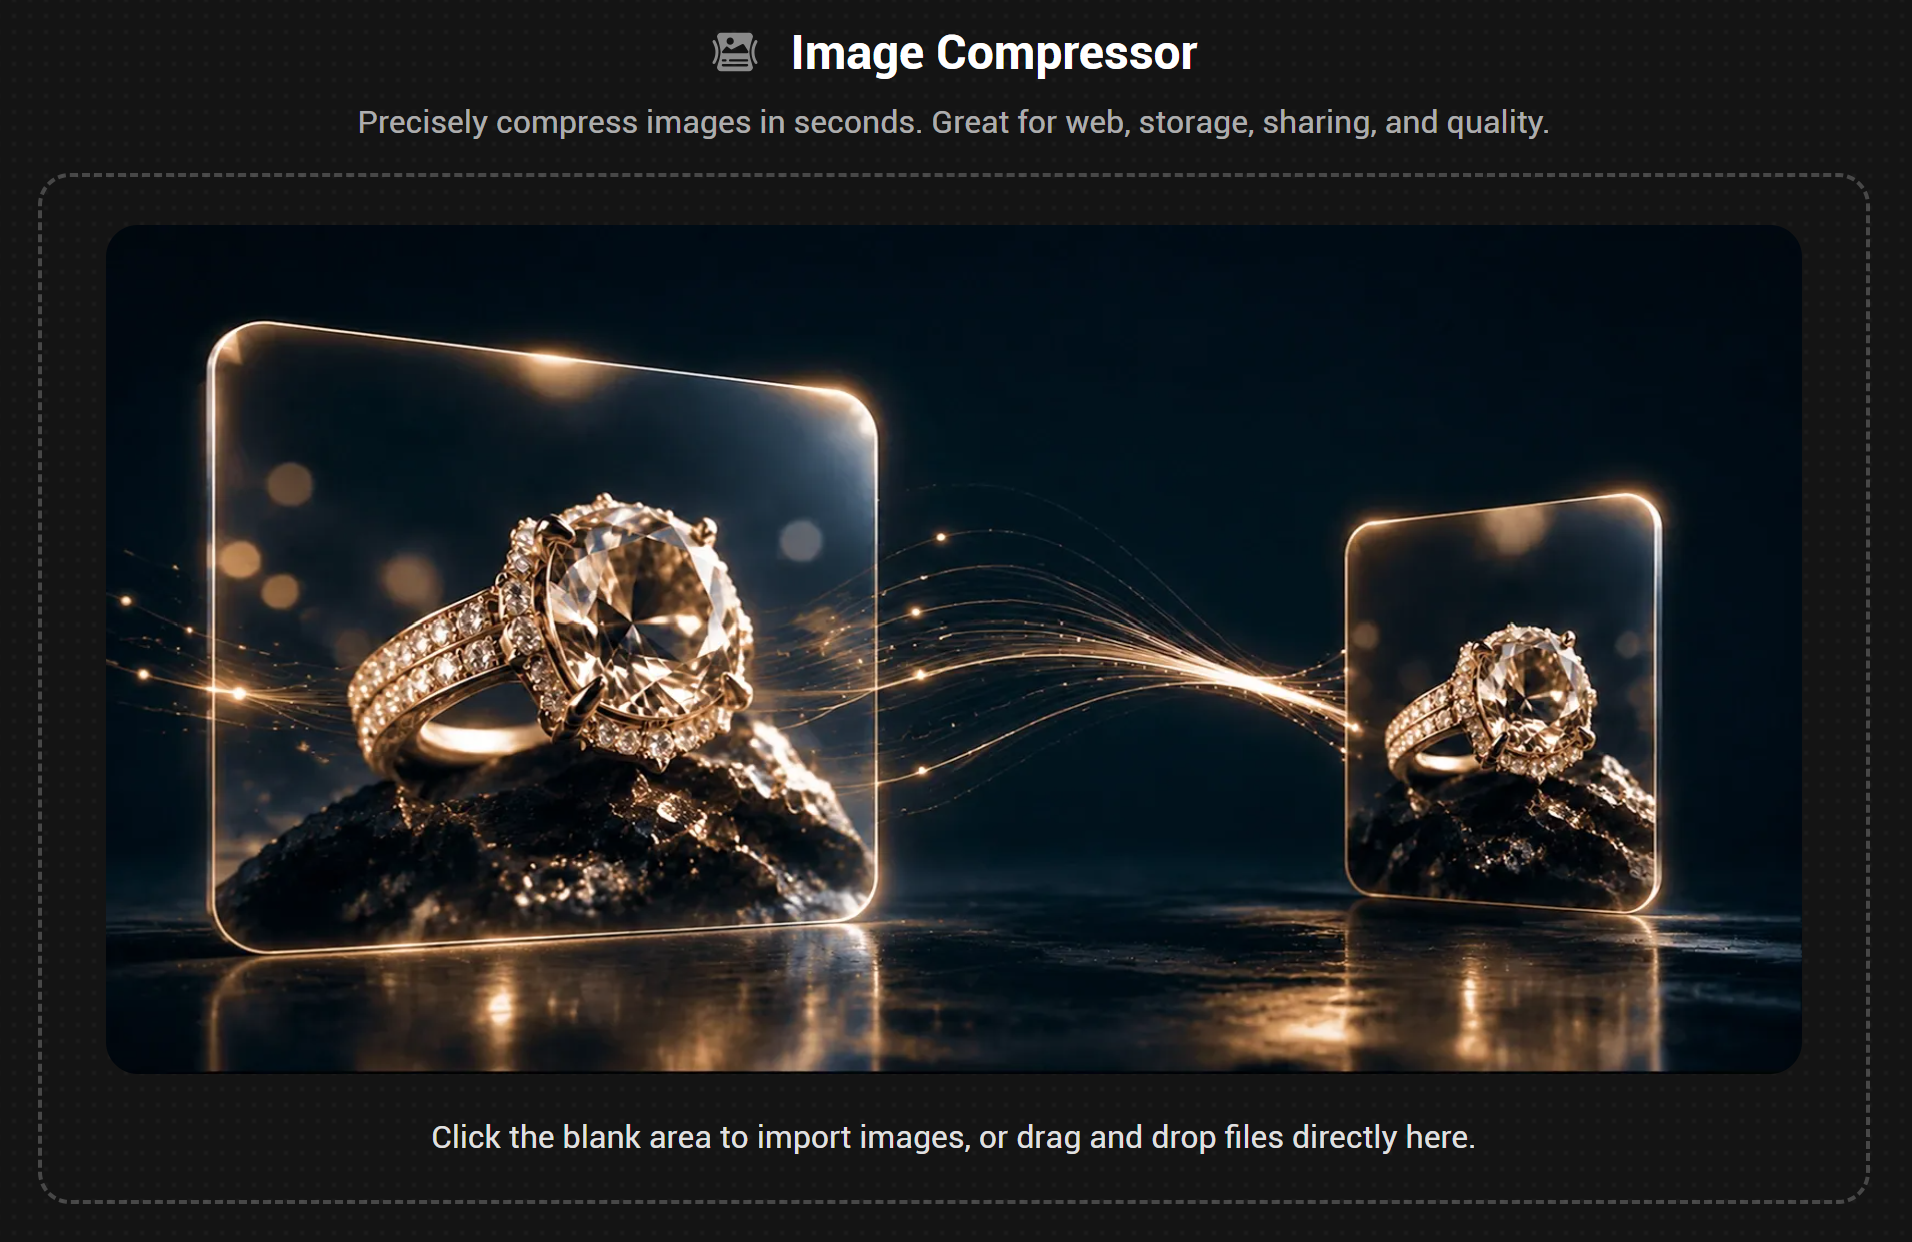
PicMa Studio Image Compressor is designed for reducing image size for web use, storage, and sharing while keeping visual quality in mind. PicMa Studio
Step 1: Open Image Compressor
Open PicMa Studio Image Compressor on your computer.
Step 2: Upload Your Image
Drag and drop your image into the upload area or select it from your device. PicMa Studio
Step 3: Apply Compression
Run the compressor and let the tool reduce unnecessary file weight.
Step 4: Save the Result
Download the compressed image and compare it with the original before replacing the file on your website.
For most website work, that final comparison matters more than chasing the smallest possible number.
Need a Different Format? Convert Your Images After Compression
Compression solves the file-size problem, but website optimization often does not stop there. You may also need to change the image format depending on where and how the image will be used.
For example, a blogger may want to convert a large PNG to a more web-friendly format, while an ecommerce team may need JPEG for product photos, PNG for transparent graphics, or WebP for lighter website assets.
Instead of exporting the image again in another editor, you can use PicMa Image Converter to change the file format after compression.
A practical workflow can be as simple as:
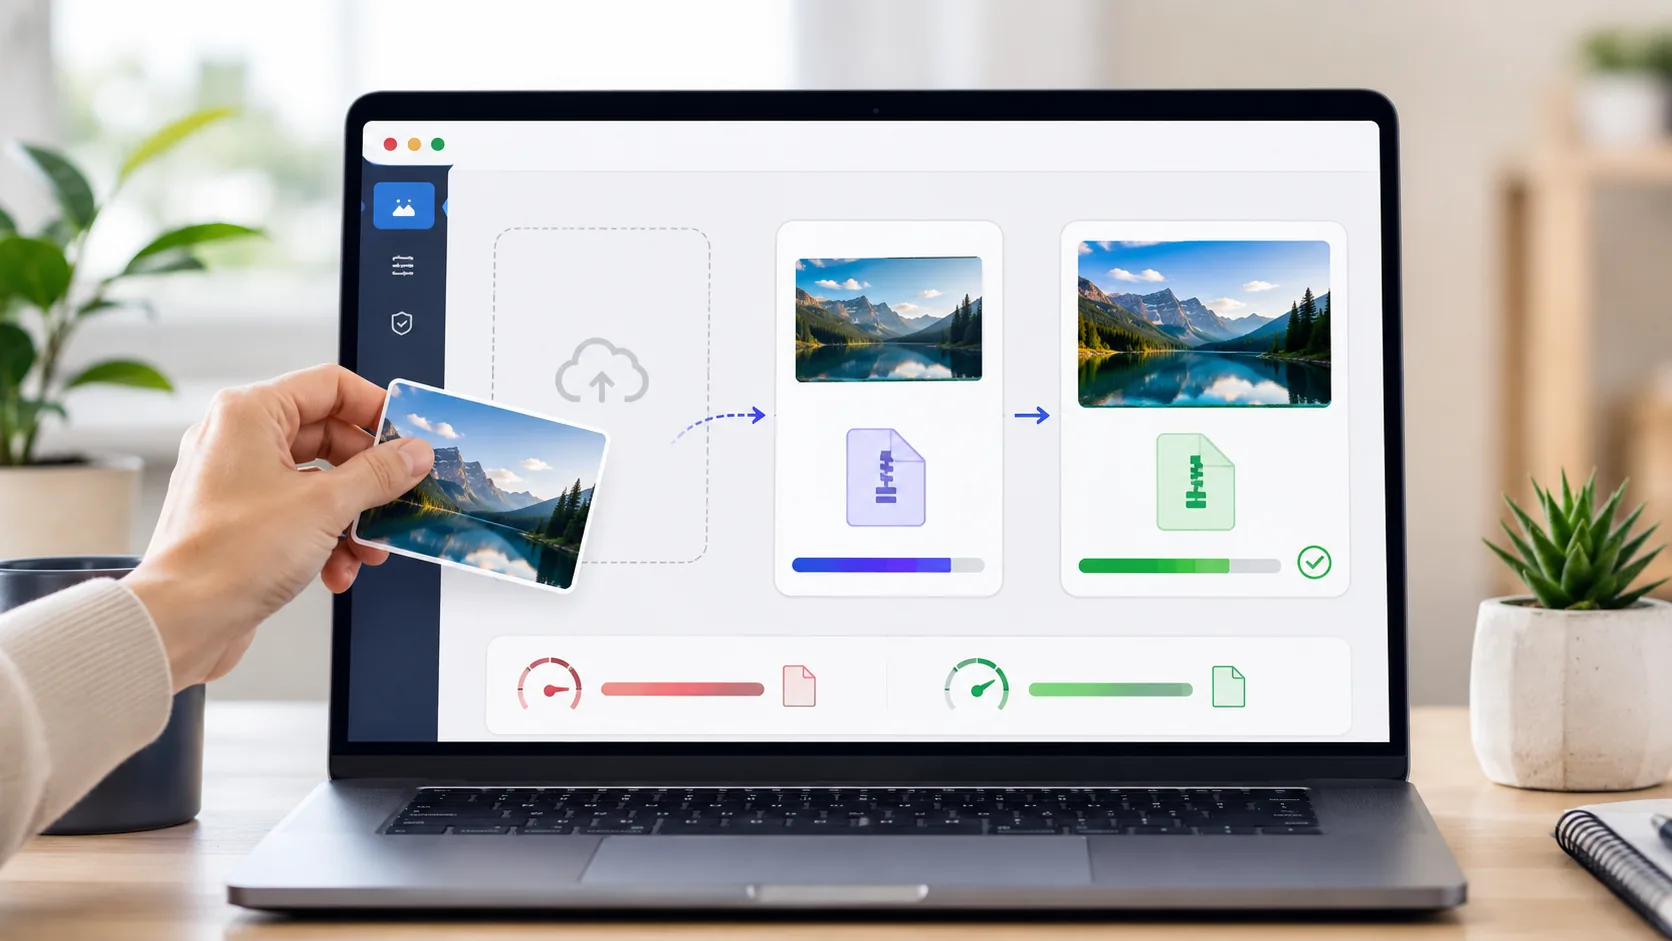
Compress the image → Convert to the format you need → Preview it on the website
Compression helps reduce unnecessary file weight, while format conversion makes the image easier to use across websites, blogs, ecommerce pages, and different publishing platforms.
For website teams managing a large number of visual assets, using both tools together can make image optimization much more efficient.
A Simple Image Optimization Workflow for SEO
Image compression works best when it becomes part of the publishing process rather than something you fix months later.
Before publishing a new blog post or landing page, check whether each image is larger than necessary, compress it, and preview the page on both desktop and mobile.
This prevents a site from gradually accumulating oversized assets.
For SEO teams, it also means technical optimization and content production can work together. Writers and designers do not need to sacrifice visual quality, while developers avoid pages filled with unnecessarily heavy images.
The goal is simple: keep the page looking good while making visitors wait less.
Want to make your website lighter without making it look worse? Try PicMa Studio Image Compressor and compare the compressed result with your original before publishing.


Frequently Asked Questions
What image size is best for a website?
It depends on how large the image appears on the page. Avoid uploading files far larger than their actual display dimensions.
Why does my compressed image look blurry?
The compression level may be too aggressive, or the image may have been resized too much. Try keeping a little more detail.
Should I compress every image before uploading it?
For most website images, yes. Large unoptimized files can quickly add unnecessary page weight.
Related Readings:

 23
23

 English