Action cameras like GoPro make it easy to capture adventures a regular camera simply can’t handle—from downhill mountain biking and surfing to backcountry skiing.
Yet when you pull the footage up on a big screen, the results can be disappointing. Fast motion turns into a smeared blur, distant landscapes look soft, and shifting light introduces grainy noise. Worse yet, a clip that looked crisp on your camera's tiny LCD screen often turns blocky and muddy once you transfer, edit, or upload it to social media.
The good news? You can improve most of these issues. Whether you are dialing in your settings before a shoot or cleaning up soft, noisy footage afterward, here is how to get cleaner action camera videos every time.
Why Does GoPro Footage Look Blurry or Grainy?
Action cameras are built for rugged environments, but three main culprits usually degrade image quality:
- Motion Blur: When you're bombing down a trail or carving snow, a slow shutter speed can't freeze the action fast enough—especially in dim light. The result is smeared edges and a loss of crispness.
- Harsh or Shifting Light: Moving rapidly from bright sun into dense tree cover forces your camera to constantly adjust exposure. In low light, the camera cranks up its ISO (light sensitivity), introducing heavy digital grain and muddy shadows.
- Heavy Video Compression: Fast-moving water, dense foliage, and gravel pack massive amounts of visual data into every frame. When your camera records at a low bitrate—or when social apps compress your file—the software discards fine information, leaving behind blocky artifacts and soft textures.

How to Improve GoPro Video Quality Before You Hit Record
Fixing footage in post-production has its limits; getting it right in-camera always gives you the best foundation. Before your next session, dial in these basics:
1. Match Resolution and Frame Rate to the Action
Shoot in the highest resolution your workflow can handle—ideally 4K—even if you plan to export in 1080p. Downscaling 4K footage gives you noticeably cleaner edges.
For frame rates, use 30fps for standard, natural-looking motion, and bump up to 60fps or 120fps for fast sports or smooth slow-motion playback. Also, switch your camera's Bitrate to High in the settings to minimize compression artifacts in complex scenes like woods or waves.
2. Master Your Lighting and Shutter Speed
Action cameras have tiny sensors that crave light. Whenever possible, shoot in bright, even daylight and avoid pointing the lens straight into the sun unless you want a silhouette.
If you're filming at dusk or under heavy tree cover, keep your movement steady and cap your Max ISO (around 800 or 1600) to keep grain under control. Avoid using dark ND filters in dim or shaded areas, as they force a slower shutter speed that causes motion blur and interferes with electronic stabilization.
3. Lock Down Your Mount (Stabilization Isn't Magic)
Built-in stabilization like GoPro’s HyperSmooth is impressive, but it only fixes camera shake—not shutter blur. A poorly secured mount creates micro-vibrations that soften the entire frame, especially in low light.
Use sturdy, tight mounts (like a chesty or bite mount rather than a shaky handlebar clamp) and remember: stabilization keeps the frame steady, while fast shutter speeds and good light keep the subject sharp.

How to Enhance Action Camera Footage After Recording
Sometimes you don't notice soft edges, low-light noise, or compression damage until you get home—and you can't exactly re-hike a mountain or re-catch a wave.
When a reshoot isn't an option, AI video enhancement is a practical post-production fix. Unlike basic sharpening filters that simply add harsh outlines, AI video enhancement analyzes your existing footage to improve its visual appearance. Depending on the original video quality, it can help reduce visible noise, refine soft details, and improve the clarity of lower-resolution or compressed clips.
Keep in mind that AI enhancement works best on mildly soft, grainy, or compressed footage—it refines existing visual information rather than inventing details from severely out-of-focus or heavily smeared shots.
Clean Up and Upscale Clips with PicMa Studio Video Enhancer
If your action footage looks grainy, compressed, or lower-resolution than you'd like, PicMa Studio Video Enhancer gives you a fast, browser-based way to refine your clips in a few clicks.
- Open the Tool: Head to PicMa Studio Video Enhancer in your browser.
- Upload Your Clip: Select and upload the GoPro or action camera video you want to improve.
- Run AI Enhancement: Click Enhance to let the AI process the video—automatically reducing grain, refining soft edges, and upscaling resolution.
- Compare and Download: Preview the original and enhanced versions side by side. Once you're happy with the cleaner result, save the upgraded video to your device.

Which Action Camera Videos Benefit Most from AI Enhancement?
Not every clip needs post-processing, and knowing what works best will save you time. Uploading your footage to PicMa Studio Video Enhancer makes the biggest difference in these four scenarios:
- Low-Light & Shaded Trail Footage (Mountain Biking / Dusk Runs): Clips recorded under dense forest canopies, at dusk, or in cloudy weather often suffer from high-ISO grain. AI denoising smooths out distracting speckles while keeping trail edges defined.
- Compressed Social Media & Messaging Clips: If you only have a compressed version of your original video downloaded from WhatsApp, Instagram, or a messaging platform, AI enhancement may help reduce visible compression artifacts and improve overall clarity.
- Older 720p or 1080p Action Cam Footage: Have older GoPro clips that look dated or soft on modern 4K monitors and TVs? AI upscaling boosts resolution and edge crispness so they hold up better on larger screens.
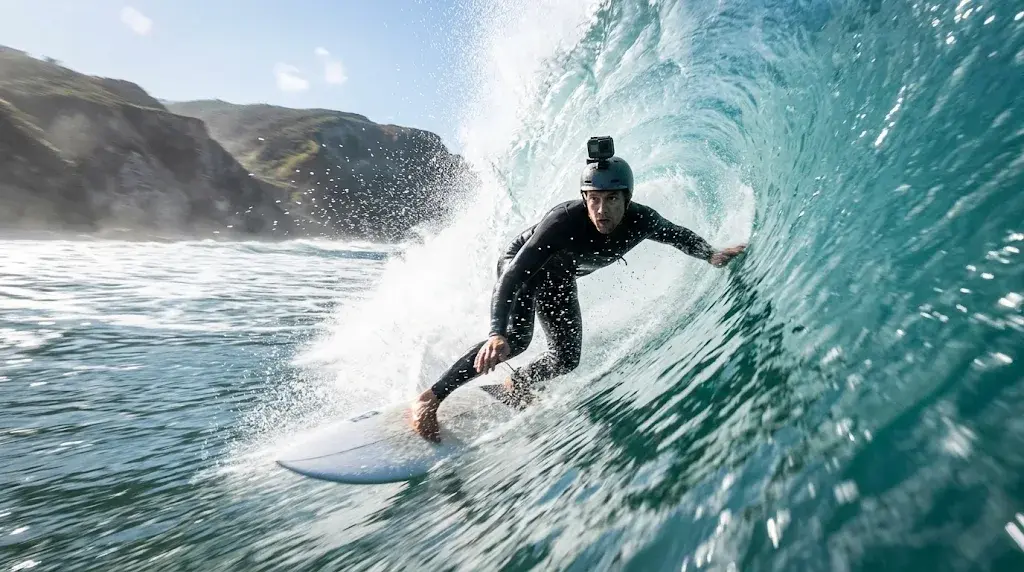
- High-Texture Outdoor Scenes (Surfing, Snow & Landscapes): Water spray, snow glare, and distant mountain ridges often look muddy when recorded at standard bitrates. Enhancing the clip refines existing textures so the scene looks cleaner and more defined.

How to Keep Your Videos Crisp When Editing and Sharing
Once your footage looks clean, don't let bad export habits ruin it:
- Always Duplicate Your Originals: Never edit directly over your raw SD card files. Keep an untouched master copy backed up.
- Export at Native Resolution: Match your export settings to your recording resolution (e.g., export 4K as 4K) with a high bitrate. Avoid repeatedly re-exporting the same clip.
- Enable High-Quality Uploads: Platforms like Instagram, TikTok, and YouTube aggressively compress uploads. Turn on "Upload at highest quality" in your app settings, and give YouTube time to finish processing the 4K/HD stream before sharing the link.
- Skip Blind Scaling in Standard Editors: Simply stretching a 720p clip to 4K in a basic video editor won't improve quality—it just enlarges the blur. Use a dedicated AI upscaler like PicMa Studio when you need cleaner higher-resolution output.

Frequently Asked Questions
How can I make my GoPro videos look sharper?
Shoot in 4K with High Bitrate enabled, use sturdy mounts to eliminate micro-vibrations, and film in bright, even light. For existing clips that look soft or grainy, run them through an AI video enhancer to reduce noise and refine edge clarity.
Why are my GoPro videos blurry even with HyperSmooth turned on?
Electronic stabilization fixes camera shake, not shutter blur. In dim lighting, your GoPro slows down its shutter speed to let in more light, causing moving objects to smear even if the camera itself is steady.
Can AI completely fix blurry action camera footage?
No AI tool can fully restore heavily smeared motion or severely out-of-focus shots because that visual data was never recorded. However, AI video enhancement works very well for cleaning up low-light grain, sharpening mildly soft footage, and fixing compression artifacts.
Why does my GoPro footage look worse after uploading to Instagram or TikTok?
Social platforms compress large video files to save bandwidth, stripping away crispness in fast-moving scenes. To minimize quality loss, export at 1080p or 4K with a high bitrate and enable high-quality uploads in the app's settings.
Make Every Adventure Worth Rewatching
Great action footage comes down to two things: solid camera settings in the field and smart cleanup in post-production. Dialing in your resolution, lighting, and mounts will prevent most headaches—and when low-light grain, lower resolutions, or compression still hold your clip back, PicMa Studio Video Enhancer helps you clean up and upscale your footage in minutes.
#GoProTips #ActionCamera #VideoEnhancement #AIVideoEnhancer #VideoQuality #VideoEditing #OutdoorFilming


 2

 English