You need to create a new employee badge, but the only portrait available is a tiny image downloaded from an old email. Or perhaps a student needs a replacement campus card, yet the original photo has been compressed so many times that the face now looks soft and pixelated.
Retaking the photo would be ideal, but it is not always practical—especially when a company, school, club, or event organizer needs to process many profiles quickly.
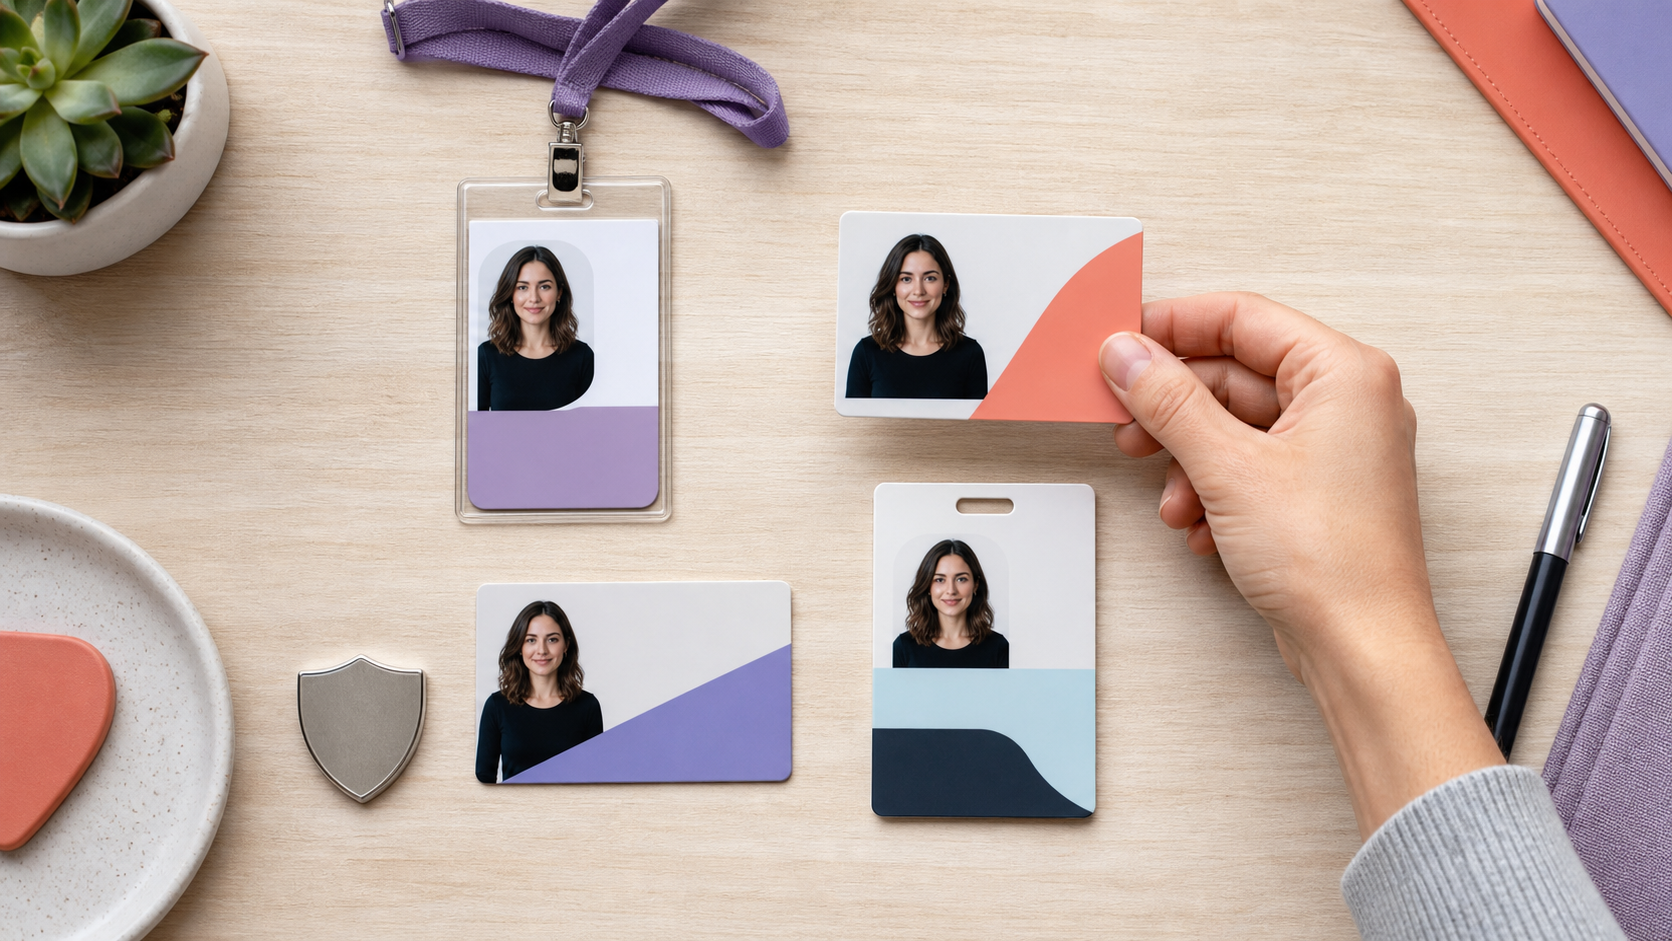
For non-government IDs such as employee badges, student cards, membership cards, conference passes, and internal profile systems, a careful AI enhancement can often make an existing portrait cleaner and easier to use.
Why Do Small ID Photos Become Blurry?
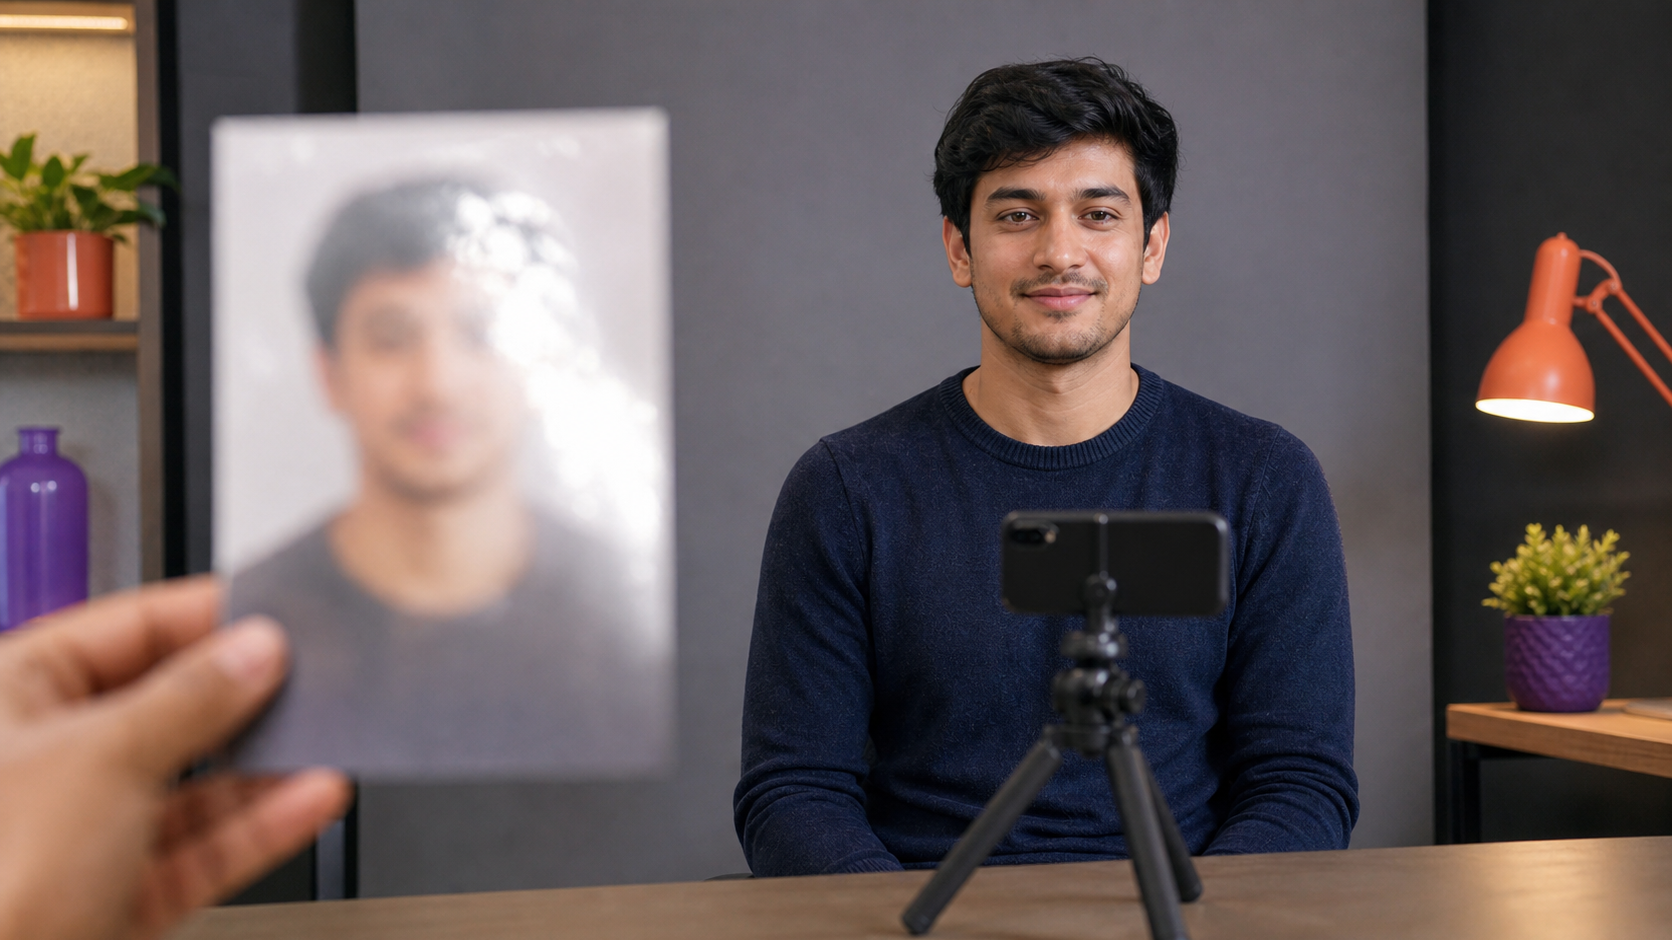
An ID photo may look acceptable when viewed as a small email attachment but fall apart when it is enlarged for printing. This usually happens because the image has been resized, screenshotted, copied between documents, or compressed by messaging apps.
Low-resolution portraits often show the same problems: soft facial edges, blocky pixels, unclear hair, and a lack of detail around the eyes and mouth. If the source is an old printed photo, dust and scratches may add another layer of damage.
Before trying to fix a blurry ID photo, find the best source available. An original camera file is better than a screenshot, and a fresh scan is better than a photo of a printed copy.
Check the Photo Requirements First
Not every type of ID allows an edited photo. Government documents, passports, visas, and driver’s licenses may require an original, unaltered image, so always follow the issuing authority’s rules. For passports, the U.S. Department of State requires an original, unedited photo and specifically says applicants should not modify it with software, apps, filters, or artificial intelligence. The UK government similarly requires digital passport photos to be clear, in focus, and unaltered by computer software. Always check the rules issued by the authority handling your application, as requirements vary by country. (U.S. passport photo rules; Get a passport photo: Digital photos - GOV.UK)
AI enhancement is better suited to less restricted uses, including workplace badges, student cards, library cards, gym memberships, volunteer passes, event credentials, and company directories. Even in these cases, the purpose should be to improve clarity—not to change the person’s appearance.
Avoid reshaping the face, changing skin tone, removing distinctive features, or generating details that make the portrait look like someone else.
How to Enhance ID Photo Quality With PicMa Studio
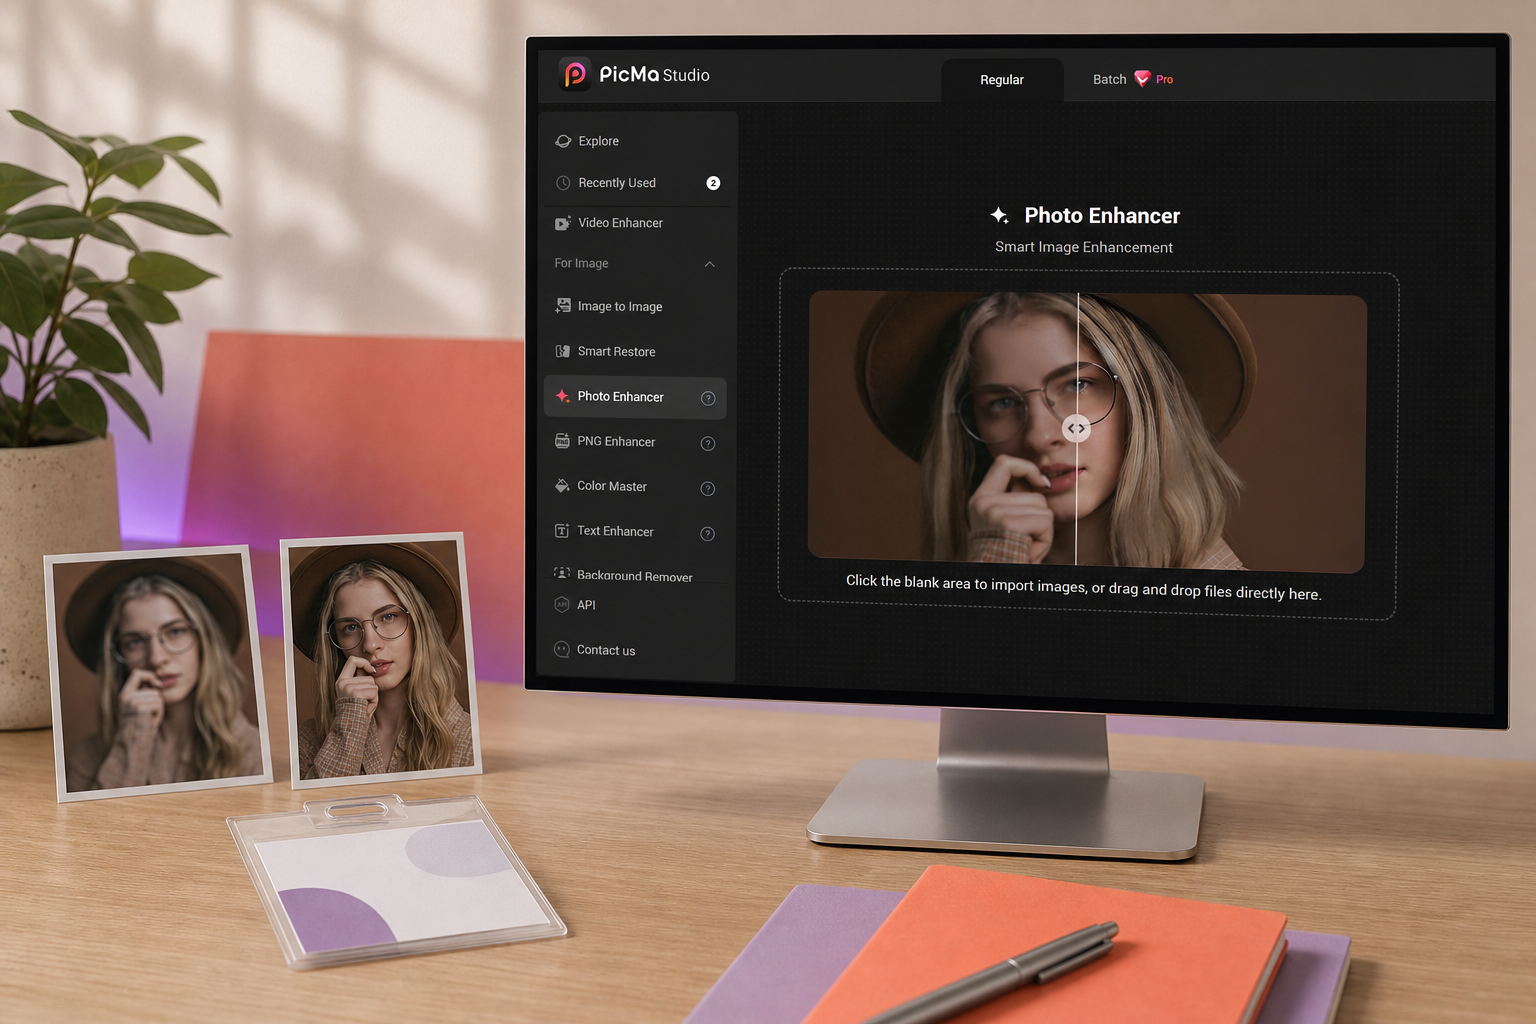
The best part about PicMa Studio is that the process only takes a few clicks. You do not need any photo-editing experience.
Step 1: Open Photo Enhancer
Go to AI Image Enhancement Online for Free on your computer or download the PicMa app on Google Play or the Apple Store
Step 2: Upload Your Photo
Choose the clearest portrait available and upload it. If the photo comes from a larger document, crop out names, ID numbers, QR codes, and other private information first.
Step 3: Let AI Enhance It
Click Enhance and wait while PicMa improves the photo’s sharpness, facial definition, and overall clarity automatically.
Step 4: Preview and Download
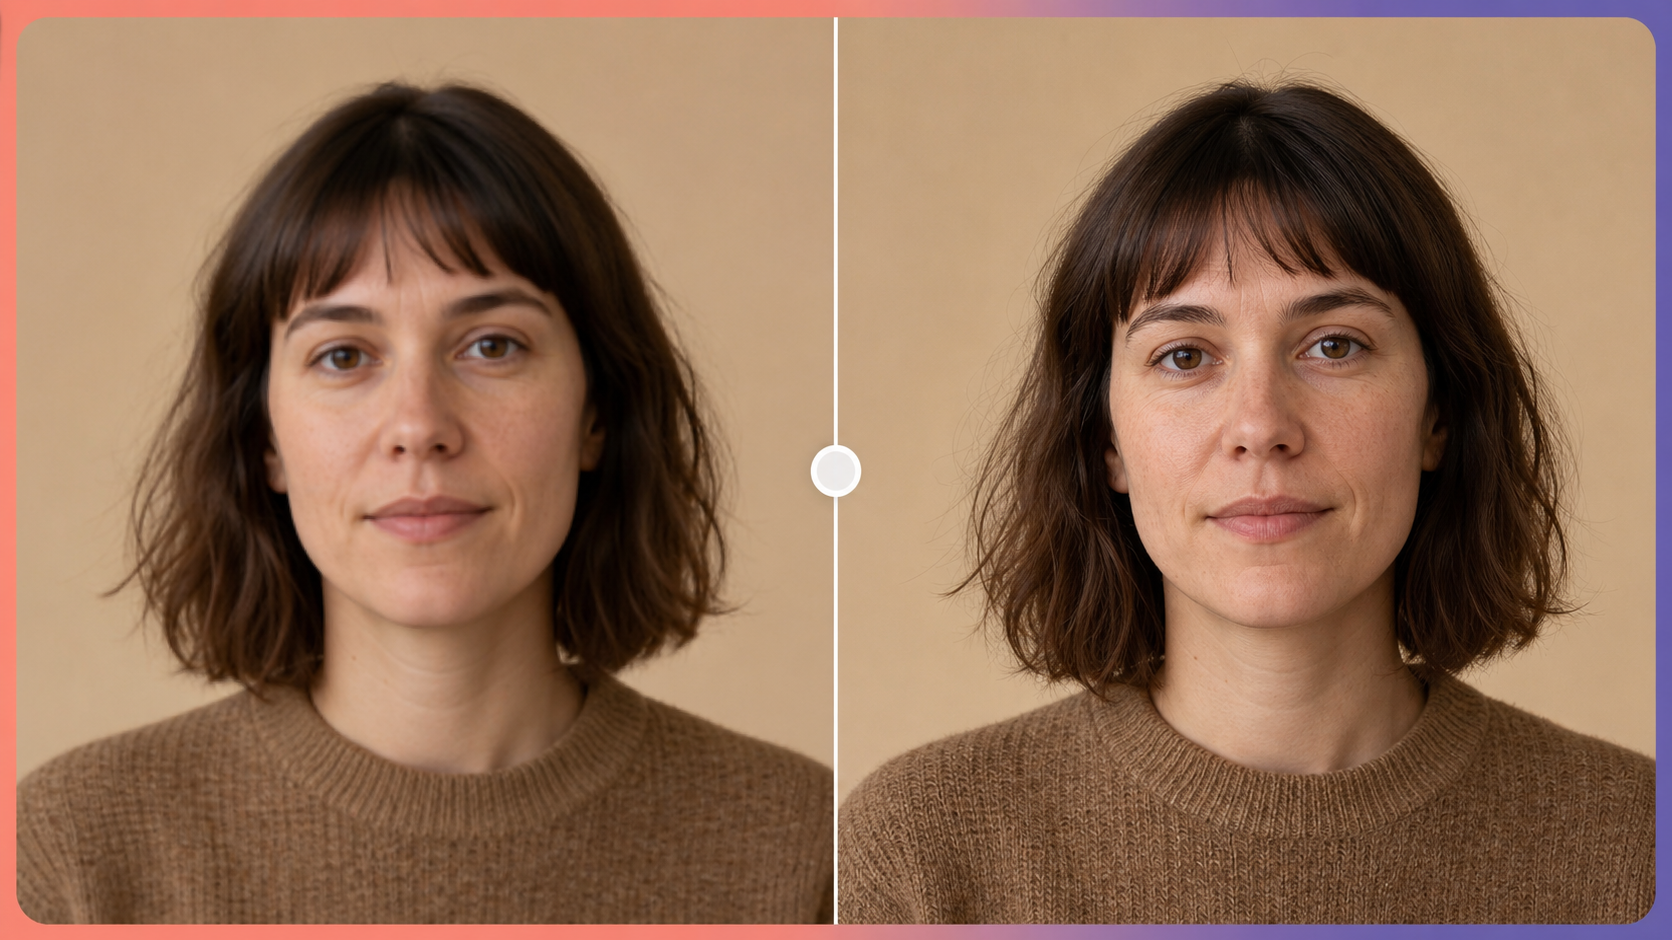
Compare the result with the original. If the face still looks natural and recognizable, download the enhanced image and save it as a separate file.
What If the ID Photo Is Scratched?
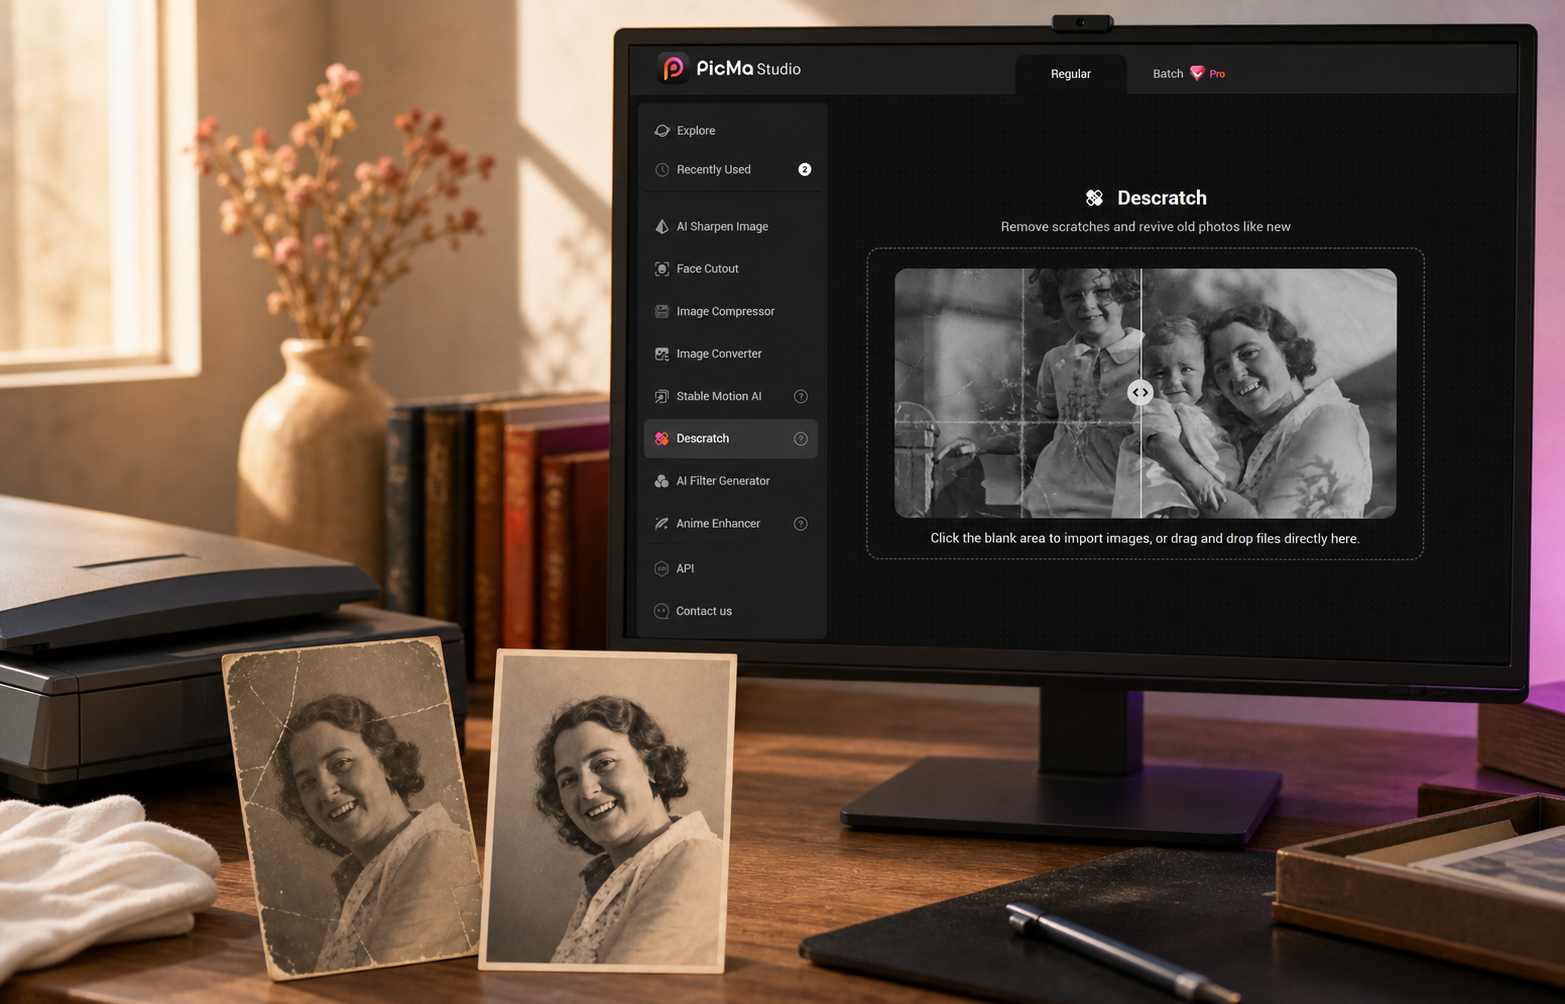
If your ID portrait comes from an old or damaged print, use Descratch before enhancing its clarity.
Step 1: Open Descratch
Open PicMa Studio and select the Descratch feature.
Step 2: Upload the Scanned Photo
Upload a clear scan of the scratched photo. Keep the original scan as a backup.
Step 3: Let AI Remove the Damage
Start the process and wait a few seconds while PicMa reduces visible scratches, dust, and crease marks.
Step 4: Download and Enhance
Download the cleaned result. If it still looks soft or low-resolution, run it through Photo Enhancer once before saving the final version.
Try the ID Photo Enhancement Workflow
If your existing portrait is recognizable but too soft, compressed, or pixelated for a badge or digital profile, you can test the workflow with your own image.
Crop the portrait, remove any private document information, and upload it to AI Image Enhancement Online for Free. If the source is an old printed photo with visible surface damage, run it through Descratch first.
Use the before-and-after preview to decide whether the result is natural enough for its intended purpose.
Frequently Asked Questions
Can AI fix a blurry ID photo?
AI can improve mild blur, pixelation, compression artifacts, and soft facial edges. It cannot reliably recover details from a completely out-of-focus or heavily obstructed face.
Can I use an enhanced photo for a passport or driver’s license?
Official documents may require original, unaltered photos. Check the rules of the issuing authority and retake the photo if edited images are prohibited. This workflow is intended primarily for non-government IDs and internal profiles.
Should I remove scratches or enhance the photo first?
Remove scratches first. Otherwise, sharpening may make scratches, dust, and fold marks more visible. The recommended order is Descratch followed by Photo Enhancer.
How can I prevent an ID photo from becoming blurry again?
Keep the original camera file or high-resolution scan. Avoid screenshots and repeated sharing through messaging apps. Export the final image only once at the size required by the badge or profile system.
Will AI enhancement change the person’s face?
A restrained enhancement should mainly improve clarity. Always compare the result with the original and reject any version that changes facial structure, skin tone, expression, or distinctive features.

 89
89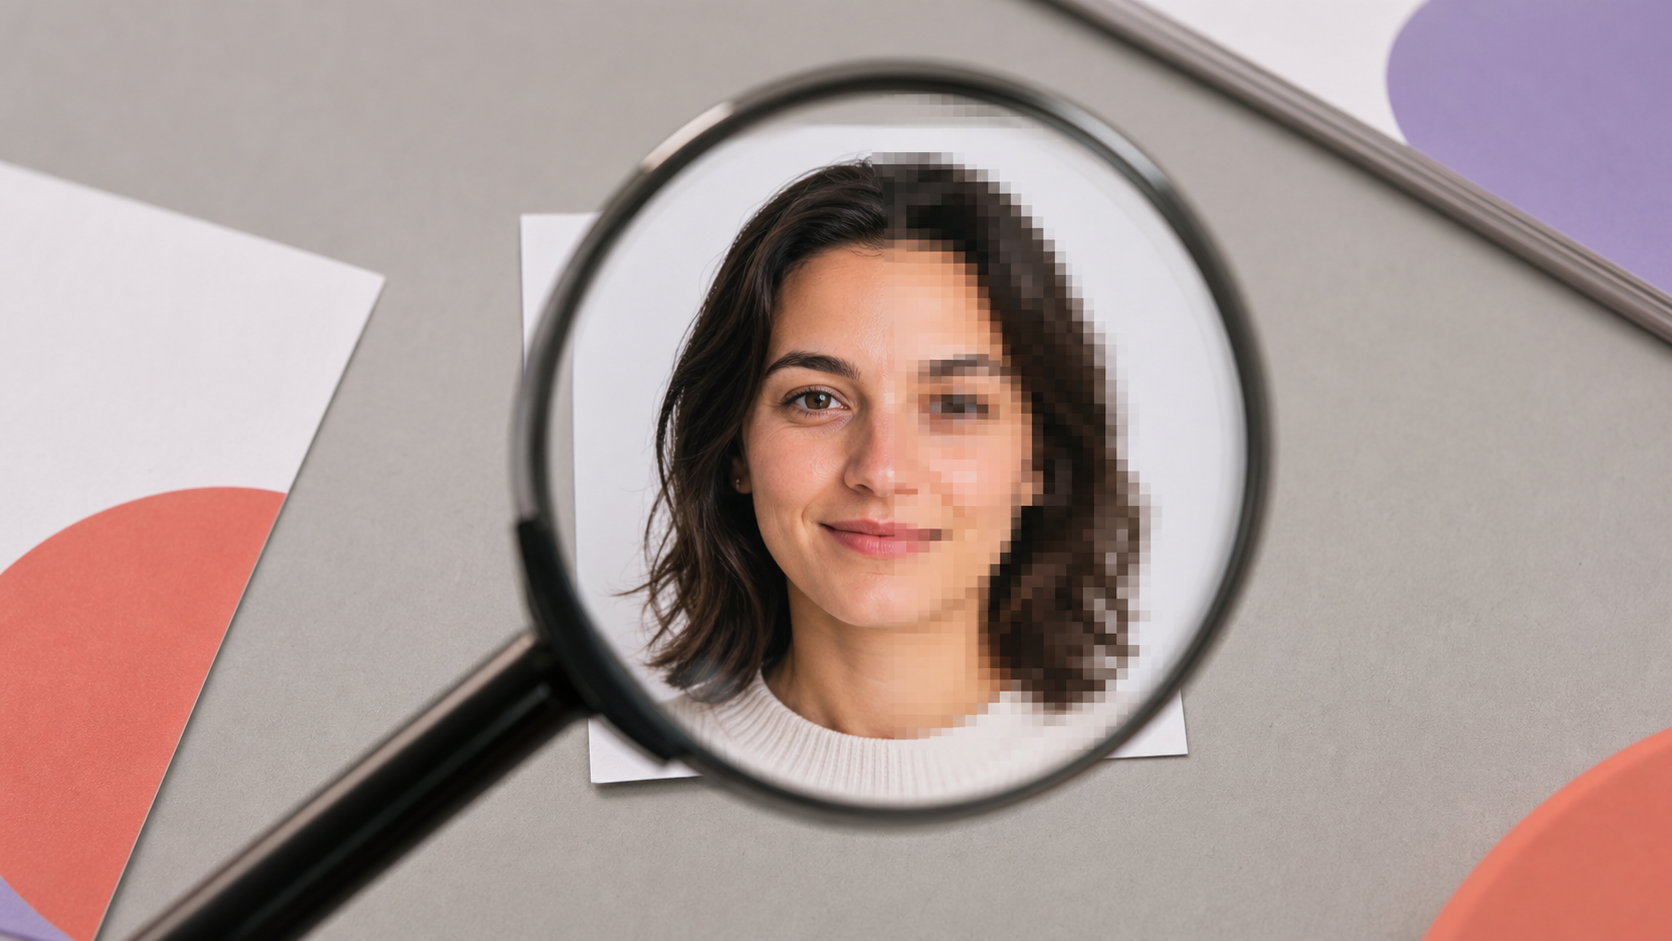

 English